
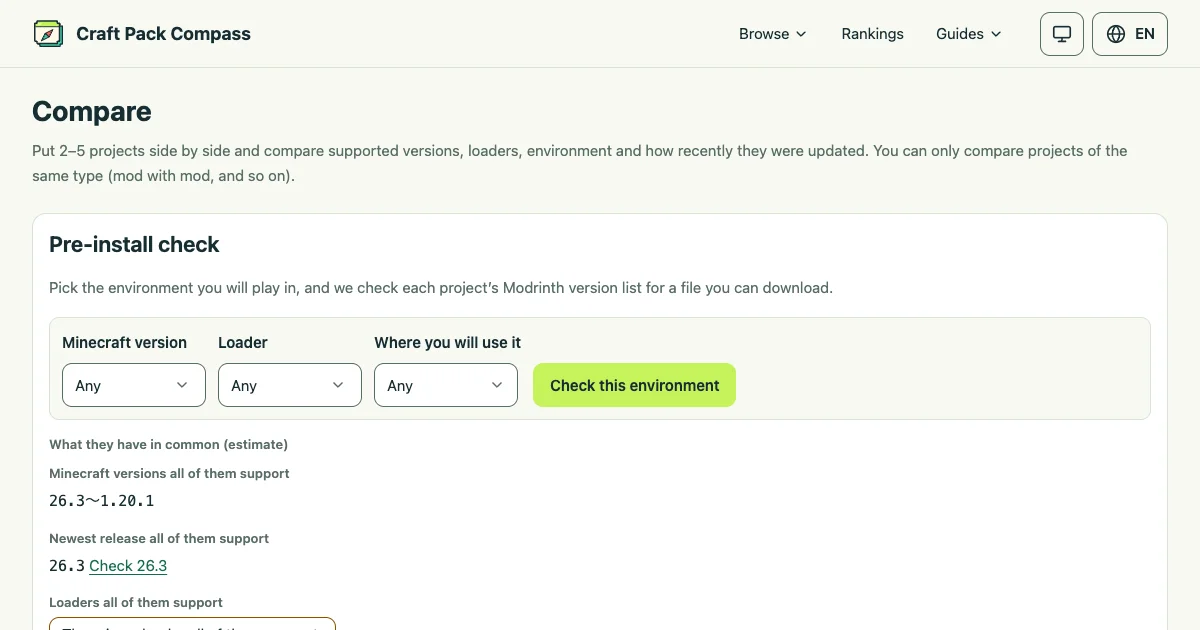
You can put several candidates side by side and check for problems before you install.
About the images in this article
The screenshots use test data (such as
Test Mod 1), not real mods.
1. Add projects to the comparison list
Press “Add to compare” on a search result, a ranking or a project page. You can pick 2 to 5 projects of the same type (for example, mods only). Open the compare page with “Compare” in the comparison list at the bottom of the screen.

2. Read the comparison table
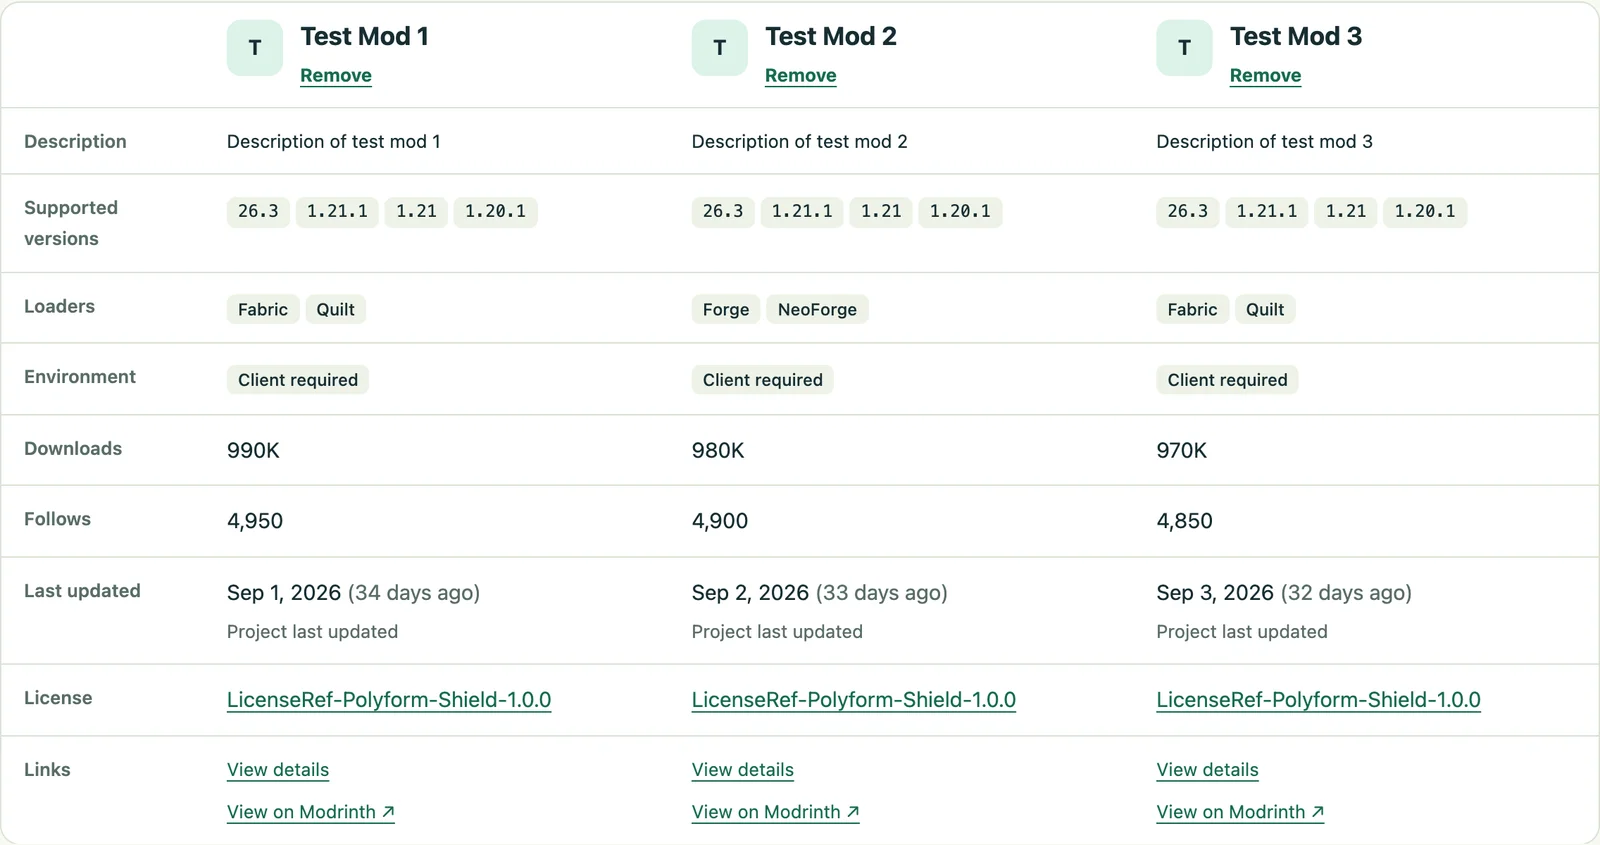
See supported versions, loaders, environment (client / server), downloads, last updated dates and licenses side by side. Projects that have stopped being updated get a warning. Required and optional dependencies are gathered in the “Dependencies” section below the table.
3. Pick your environment in the pre-install check
In the “Pre-install check” at the top of the compare page, pick the environment you will play in (Minecraft version, loader, and client or server) and press “Check this environment”. For each project, we look at Modrinth’s version information to see whether there is a file for that environment.
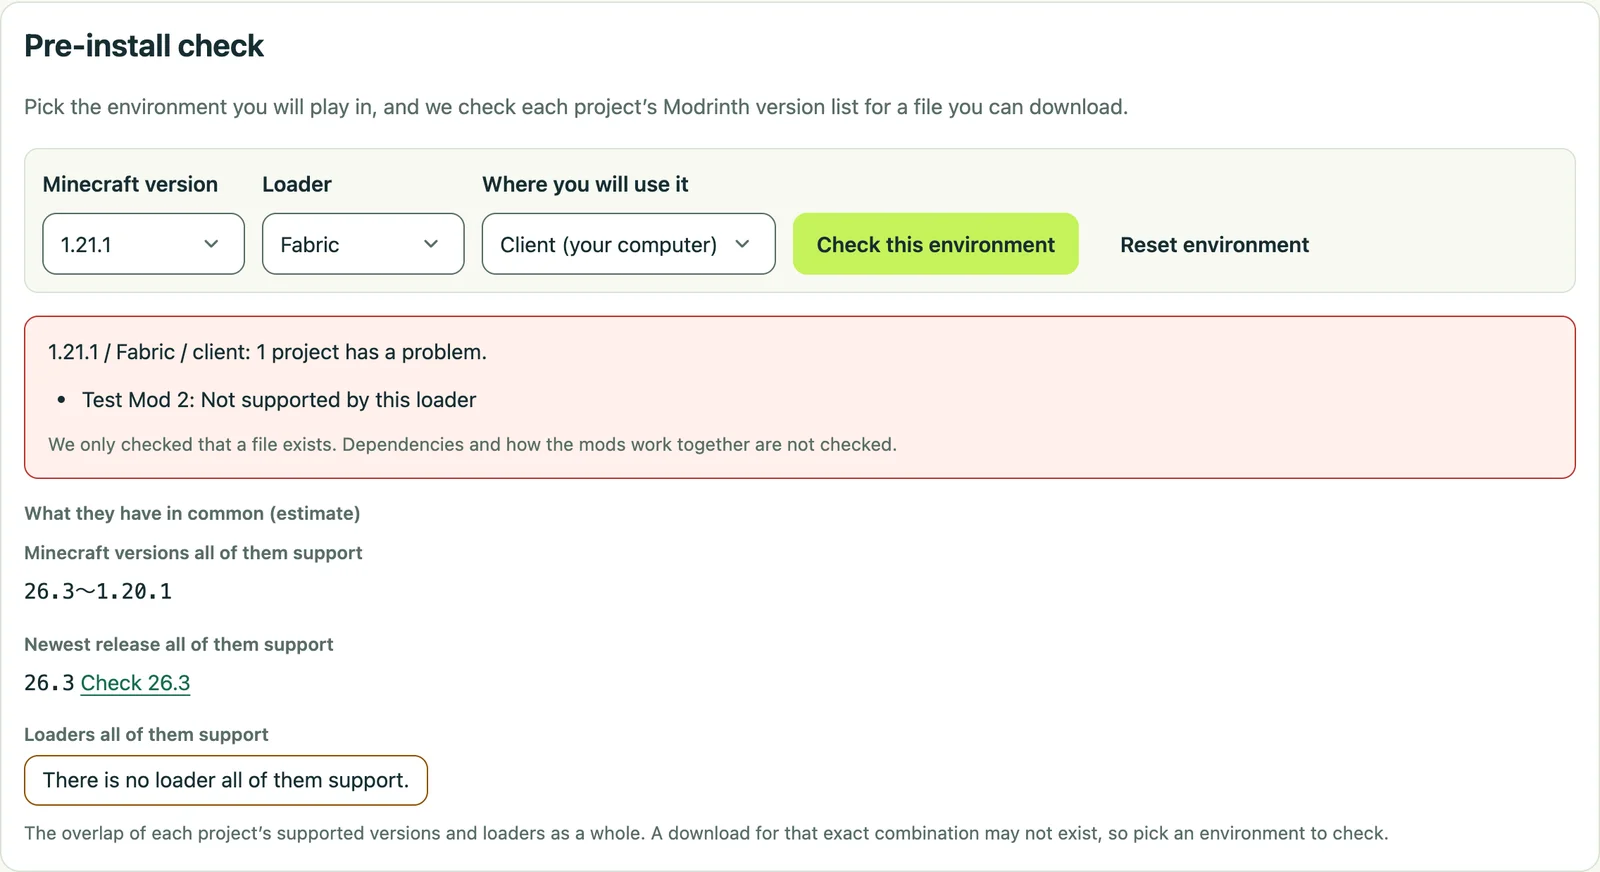
- If you do not pick an environment, the range of versions they all support is shown as a guide. It is the common part of each project’s supported versions, and a file for every combination does not necessarily exist.
- You can check the required dependencies together.
4. Export and share
Export the result as Markdown (.md) or CSV (.csv). The file is made on the spot and is not stored on the server. Share the compare page URL to show the same comparison.
Note
The “supported versions” display is based on information registered on Modrinth. It does not guarantee that a project works, so read the distribution page before you install.