
It is free and needs no account. The steps are as follows.
About the images in this article
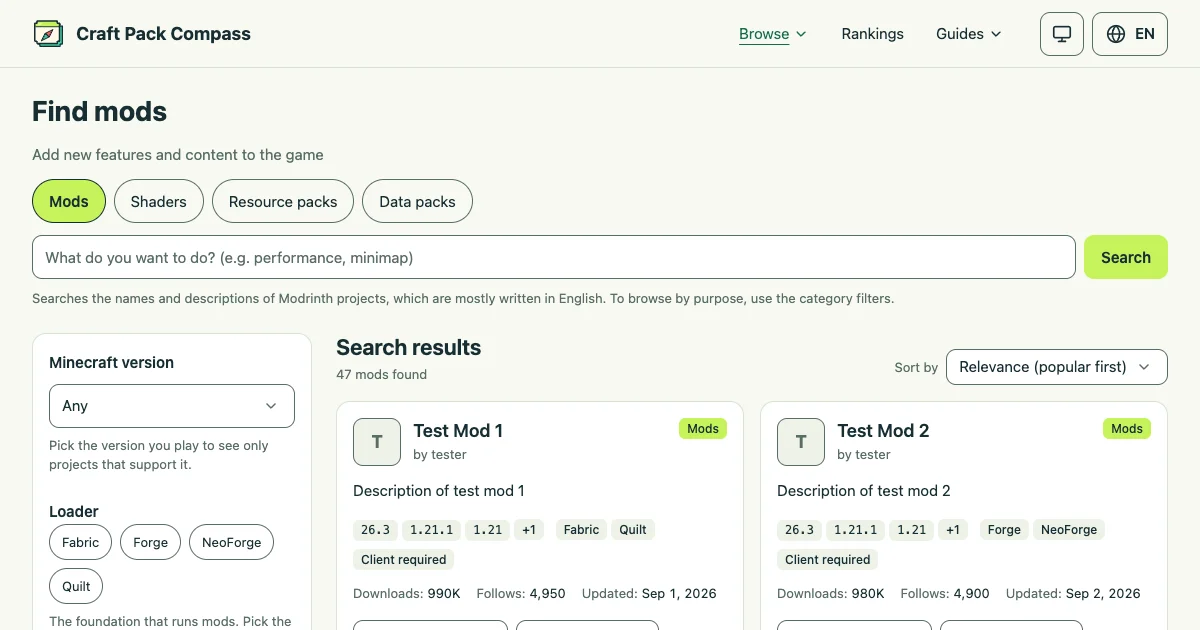
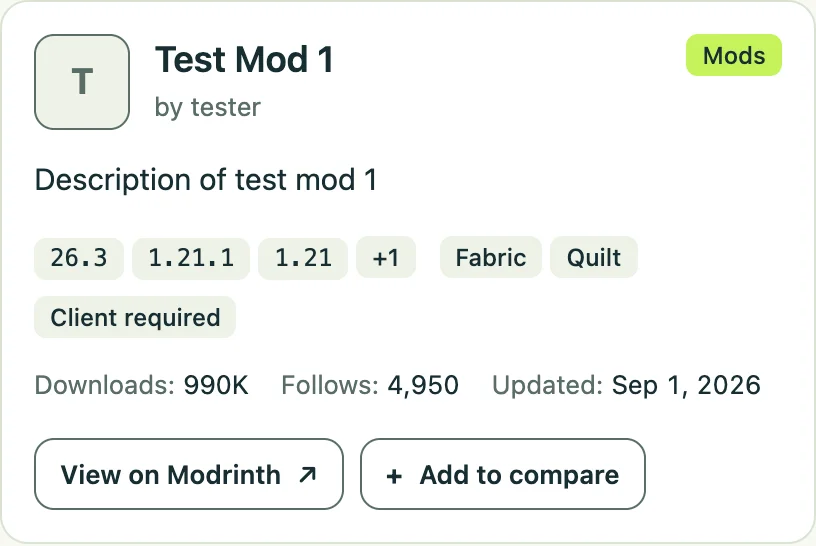
The screenshots use test data (such as
Test Mod 1), not real mods. On the real site, you see mods from Modrinth.
1. Browse by goal (when you do not know a name)
On the home page, pick what you want to do under “Browse by goal” (for example, boost FPS, or make the scenery beautiful). You see results from categories and keywords chosen in advance, most popular first. You do not need to know a mod’s name.
2. Pick a type
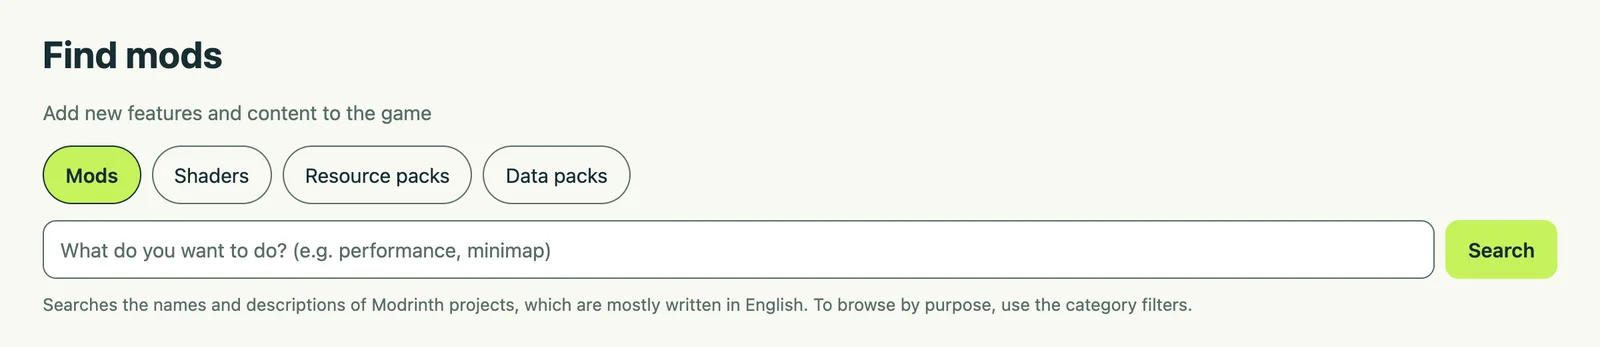
Choose the type you want (Mods, Shaders, Resource packs or Data packs) from the “Browse” menu in the header. You can also pick a type in the search box on the home page.
On the search page, you can switch the type with the tabs at the top.
3. Search by keyword
Search by name or by a keyword (for example, minimap). Modrinth’s search mostly works in English, so English keywords find more. If you prefer Japanese, use “Browse by goal” and the category filter.
4. Filter and sort
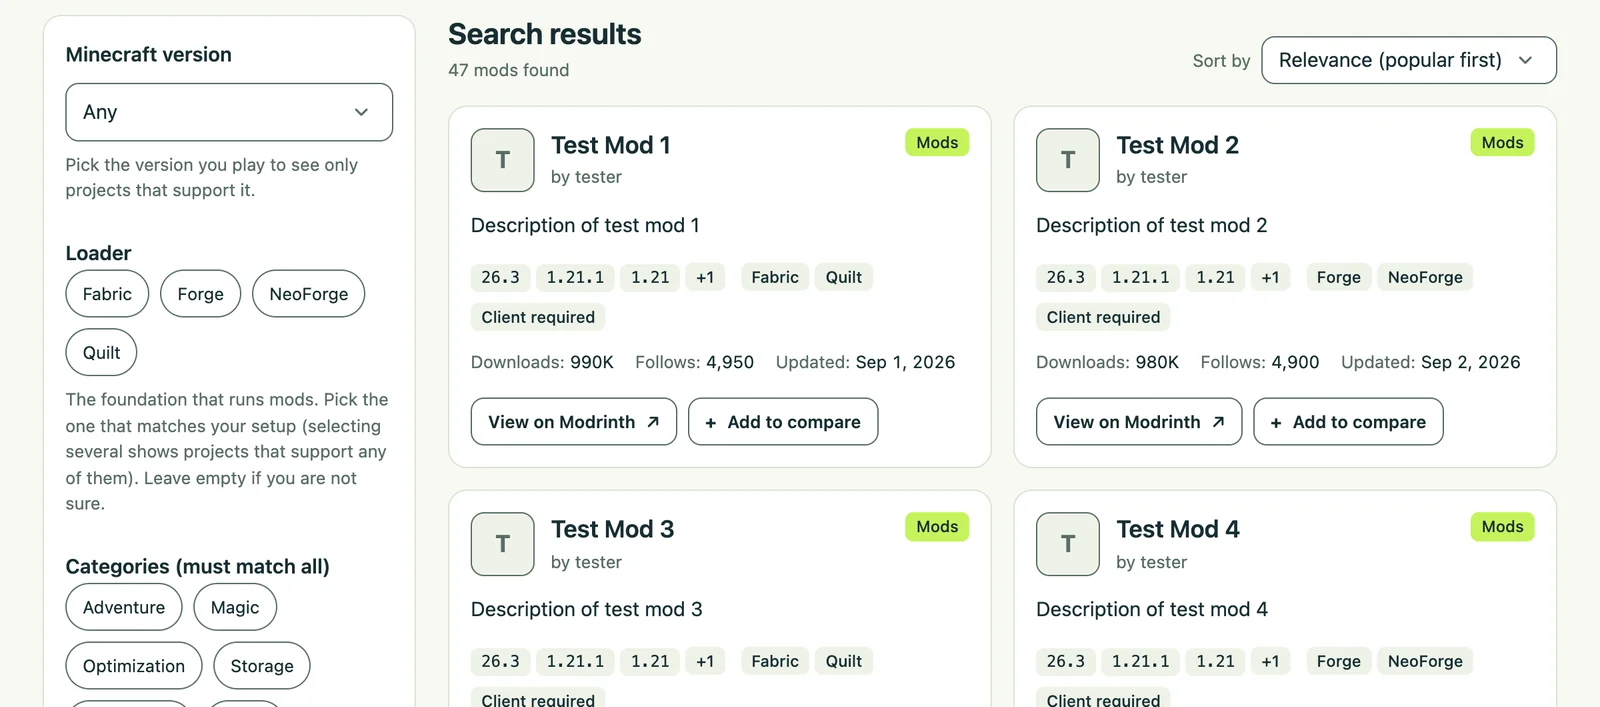
- Minecraft version: pick the version you play, and only projects that support it are shown.
- Loader: pick the loader you use, such as Fabric or NeoForge.
- Category: for example, performance, magic or adventure.
- Sort: relevance, downloads, follows, newest or last updated.
The conditions are kept in the URL, so you can share the page URL to show the same results.
5. Check the result cards and the project page
A result card shows the versions and loaders it supports, whether it goes on the client or the server, the number of downloads and the last updated date. “Add to compare” puts it in the comparison list.
Open a result to see its dependencies (required or optional), the versions and loaders it supports, whether it goes on the client or the server, and the license. Download from the Modrinth link.
To compare several candidates, see how to compare and check before you install.